 |
Home | Contact Us | A to Z |
 |
Submitting the CPMP Tool
You can submit your Consolidated Planning materials almost entirely in electronic format. Please be sure to save all of the different documents in your CPMP_ver2 folder for simplicity. Soft Copy Submission by eMail:
A special CPMP mailbox has been created to receive CPMP submissions up to 2 megabytes. If you are including large files like graphical maps, you may have to send multiple eMails to submit the entire CPMP. Compress your files with WinZip or another zip program before eMailing to reduce file size. Remember, the certifications and SF 424 require signatures and must be mailed to your local Field Office regardless of whether you send a soft copy. Compressing your files: 1. Open WinZip. There are different ways to open WinZip. It depends on your operating system. One way to open WinZip is to go to your Start menu, and look through your Program files.
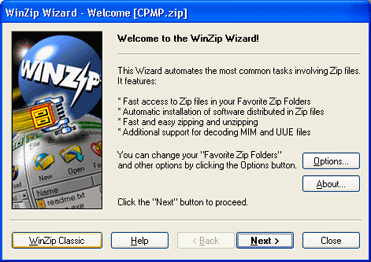
2. Depending on your preferences, WinZip will open either the WinZip Wizard or the WinZip Classic interface. If the Wizard opens, click the button for WinZip Classic. 
3. In WinZip Classic, click the File menu; then select the New Archive option. 
5. Type the name of your zip file in the file name: box then click the OK button. We recommend the following naming convention be used for the file name:

6. Select the files you want to compress.
7. Click the Add button. 
8. eMail your zip file to HUD. Soft Copy Submission by Delivery: If you have the facilities, you may burn the materials to a compact disc (CD) and send that in. Hard Copy Submission: As always, you may submit materials in hard copy through the mail or delivery.
|
|||||
| Content Archived: May 9, 2012 | |||||

